


How to Get a Great Mani/Pedi at Home
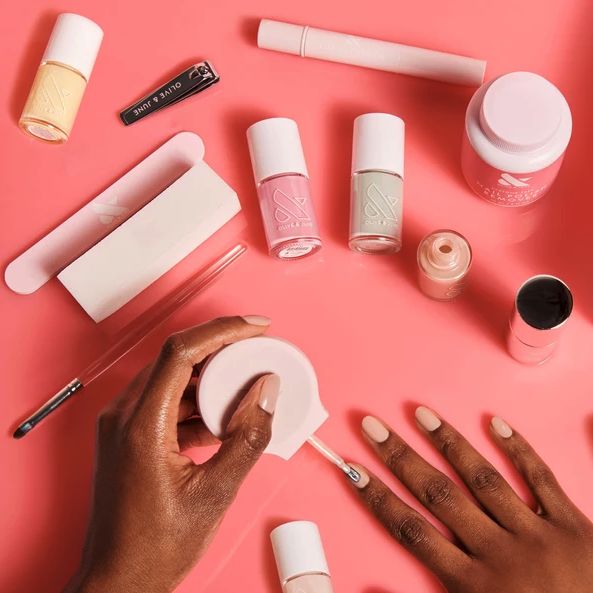
Image: Courtesy Photo
I liken the unboxing of my Olive & June complete system, which includes the beloved salon's manicure and pedicure collections, to an unexpected afternoon party. My first thought was that every woman should have one of these in their life, even if she's the salon type. Think about it—there are times when you need a touch-up, times when there’s not enough time for a full-on manicure or pedicure, and times when you simply don’t want or need another appointment on the calendar.
But I’ve gotten ahead of myself. I am one of those salon-types. In fact, until quarantine forced me to learn how to care for my nails by myself, I had a standing appointment every Monday. Yep, I was that kind.
So I was thrilled to discover that Olive & June's kit includes everything you need for a foolproof at-home manicure and pedicure, including free online classes. The brand feels friendly—one that wants you to love and have fun with it, not bottom-line motivated. After all, we’re taught by the professionals how to blow out our hair and do our makeup—why not our nails, too?
“The secret to a beautiful DIY mani is all about the right tools and a little bit of practice," says Olivia Van Iderstine, director of content and community for Olive & June. "When you have the right polish brush and a few other essentials, your nails almost paint themselves.”
I was up for the challenge. Here’s what I learned.
Nail Trimming: The 90/10 Rule
Cut your shape 90 percent, then file the rest of the way. And do it with your color still on— this is a revelation, because you can see your nail lines better. Also: file your nails in one direction. Simple, but it makes a big difference.
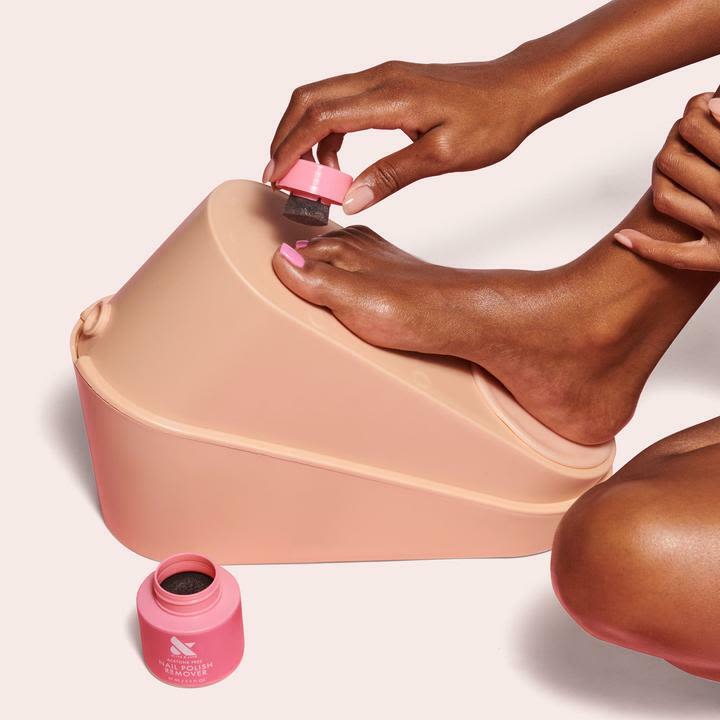
Olive & June Remover Pot.
Image: Courtesy Photo
Prep Your Nails Properly
Once you’ve cleaned your nails with polish remover, be sure not to touch them before applying color to negate the possibility of transferring oils, which could diminish the life of the polish. (Full disclosure, I was guilty of this error, so my nails went back into the included nail polish remover pot.)
"Keep everything dry, gently buff your nail plate, and don’t forget to dip each nail in the remover pot before you polish," Van Iderstine says. "Starting strong is always important."
"You do not need water to get salon results at home, and water actually makes your mani and pedi chip faster," she continues. "Water makes your nail plate expand, which causes dreaded chips and peeling polish later. Keep everything as dry as possible for nails that don’t budge. Forget everything you thought you knew or needed—waterless manis and pedis are everything.”
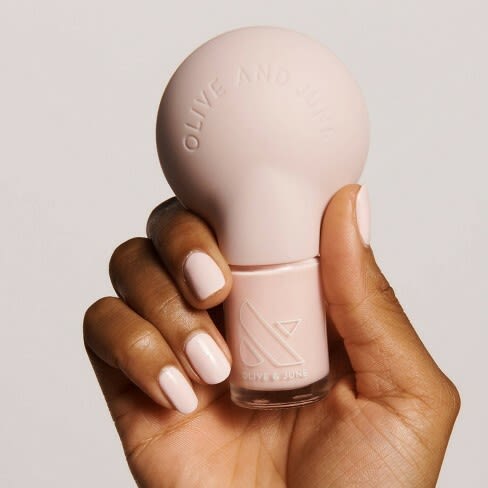
The Poppy by Olive & June.
Image: Courtesy Photo
Paint Your Nails
Here's the most intimidating portion of the whole procedure: painting of the nails. Olive & June includes its signature Poppy, a topper with a comfortable grip for more control; plus, its polish brush is flat, not round, making for easier application. Afterward, color clean-up is a breeze with a special brush—just dip it into the remover pot, swipe away any extra color, and voilà. To make your color last, reapply top coat every two to three days.
Take Care of Your Cuticles
We're all washing our hands more these days, which means cracked, dry cuticles. For maintenance, remember to apply cuticle serum at least two to three times a day, and use hand serum and foot serum, too. Hydrated cuticles make for happy nails—and make your manicure look fresh and new.
I write this with much surprise—this was all was far easier than I imagined, and I was impressed with my pedicure. I’ve been looking at it for a couple weeks now and it’s still holding up.


