How to Create a 'No Makeup' Makeup Look
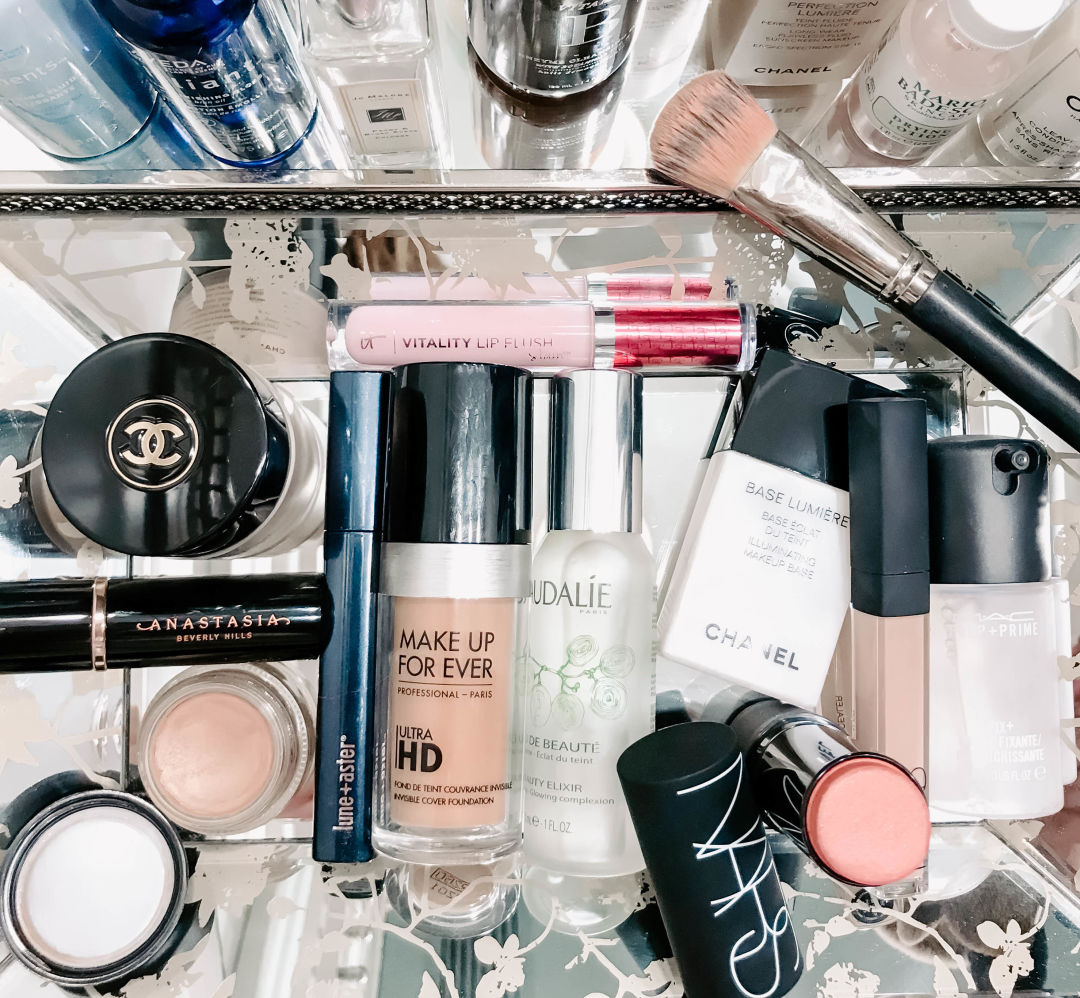
Image: Heather Saba
For the longest time, I only had two makeup looks—no makeup (literally) or full glam. I realized over time that I should probably learn how to create a "no-makeup" makeup look, because there are times I don’t want to look like a troll, but I also don’t want a face full of makeup.

Image: Heather Saba
Obviously, this meant I was going to have to buy another set of makeup products to achieve this look, because my go-to products take me from troll to Kardashian in less than 30 minutes. And I love that—but that’s my glam routine. I want to look more natural most days.
So for the past year I’ve been experimenting with different products to achieve a more natural daily makeup routine. I’ve hated some, loved some and of course, I’ll still be experimenting, but for now, I have a handful of products and a routine that I’m loving—and I’m sharing it with y’all today. Twelve steps, three applicators, not sure exactly how many products, but it can be done in 10 minutes flat.
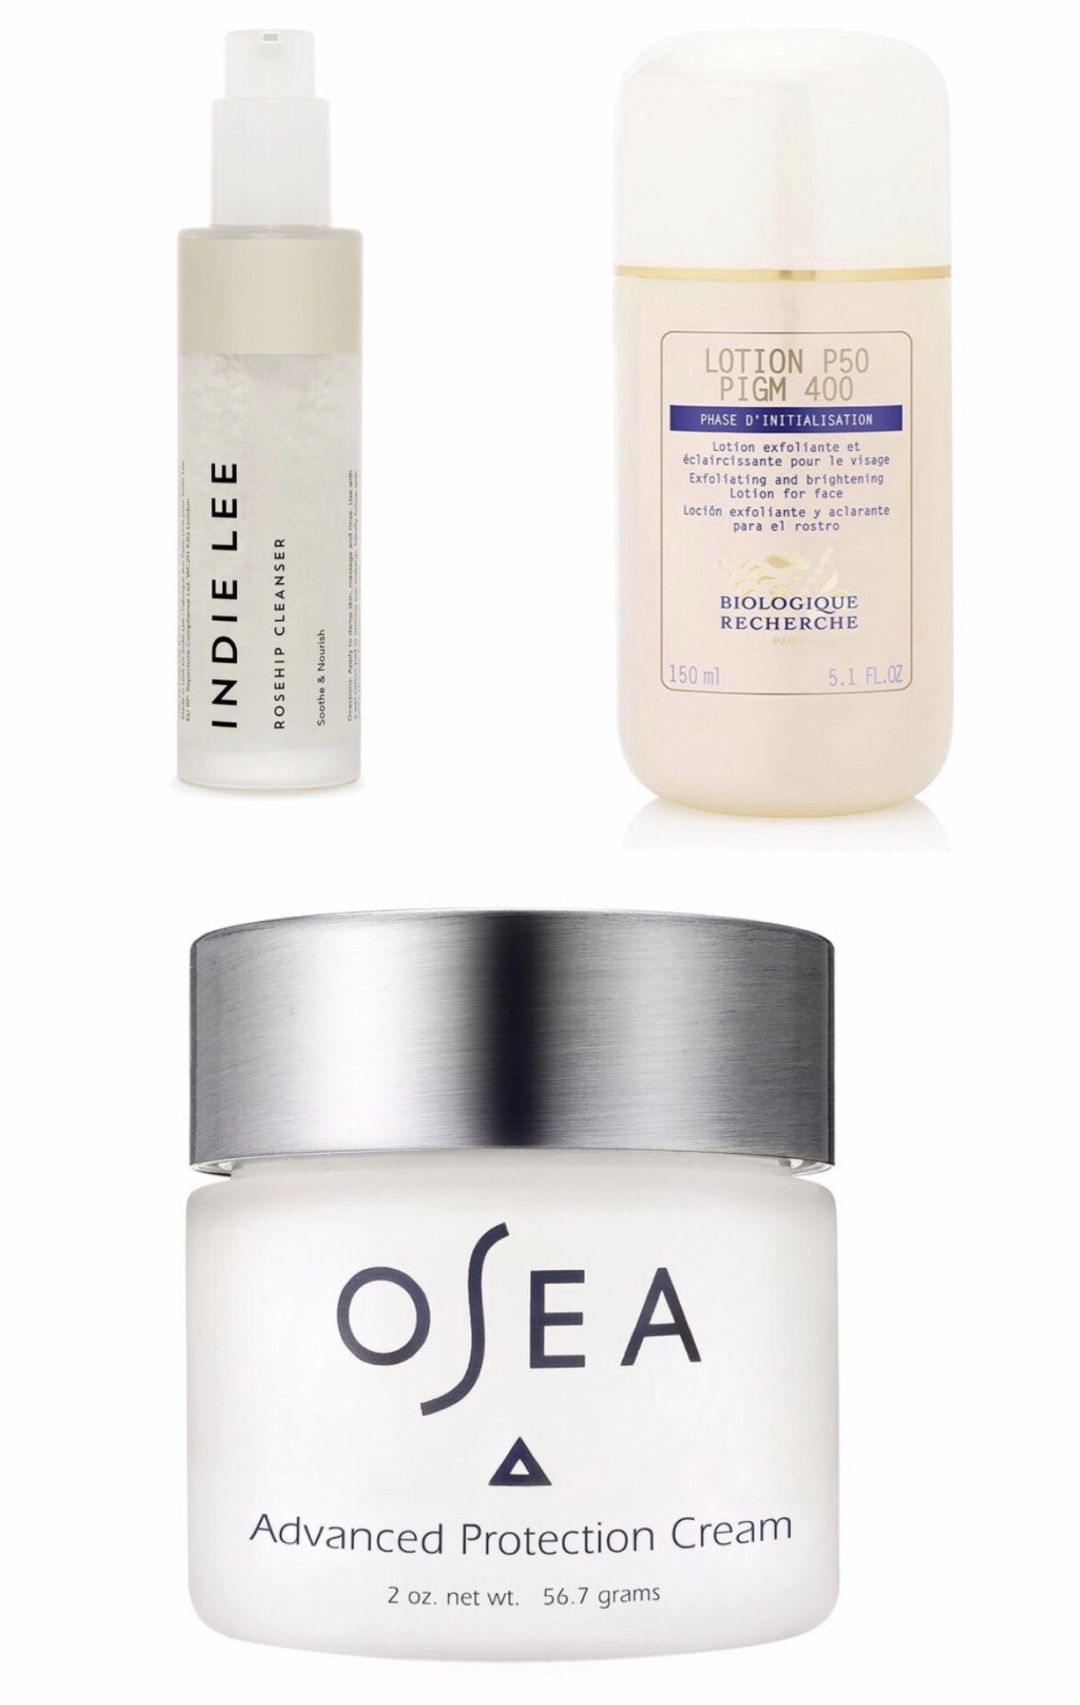
Image: Courtesy Photos
Step One: Skin
First, as with any makeup look, you’ve got to start with fresh, clean skin. My skincare products and routine right now: cleanse with Indie Lee Rosehip Cleanser ($34 at Bluemercury), followed by Biologique Recherche Lotion P50 ($122 at L. Spa) and a spritz of Caudalie Beauty Elixir ($49 at Sephora). Finish with Osea Advanced Protection Cream ($98 at Bluemercury).
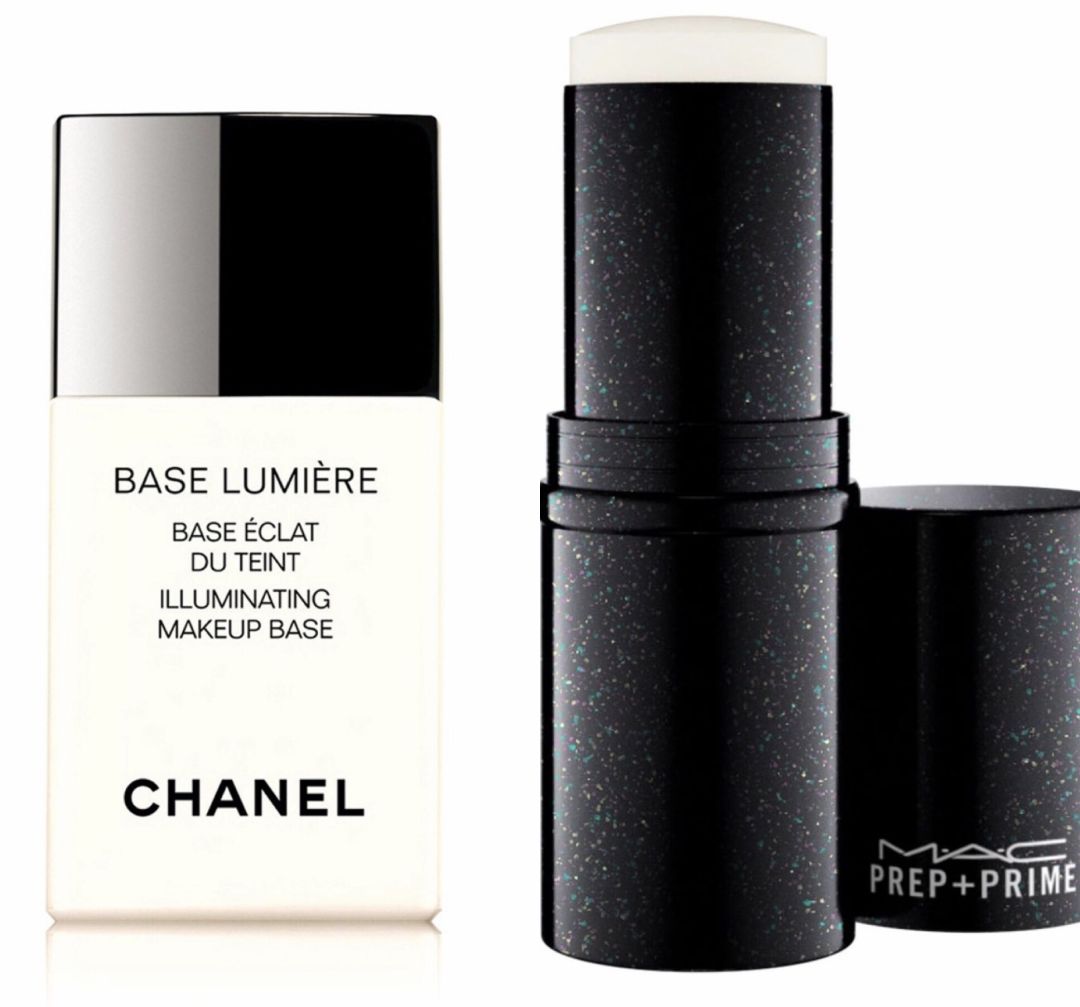
Image: Courtesy Photo
Step Two: Primer
First things first, you need to prime your skin for makeup. If you don’t already use a primer, it is essential. It preps and smooths your skin for flawless application. My go to is the Chanel Illuminating Makeup Base ($48 at Saks Fifth Avenue). I’ve been using this for 12-plus years and it’s my tried-and-true favorite primer. The hydrating gel formula minimizes the appearance of imperfections and illuminates your complexion. If you’re looking for a less luminizing, more pore-refining primer, I love the MAC Prep and Prime Pore Refiner Stick ($27 at MAC Cosmetics)—it smooths and refines your skin while leaving a matte finish.

Image: Courtesy Photo
Products I want to try next:
Tom Ford Complexion Enhancing Primer, $76 at Saks Fifth Avenue

Image: Courtesy Photo
Step Three: Chanel Soleil Tan De Chanel
This step has been the same in my makeup routines forever. I apply a little bit of Chanel Sheer Illuminating Fluid ($48 at Saks Fifth Avenue ) to my skin after my primer to wear alone, without foundation, or I mix in a drop or two into my foundation to create a more dewy, glowy look.
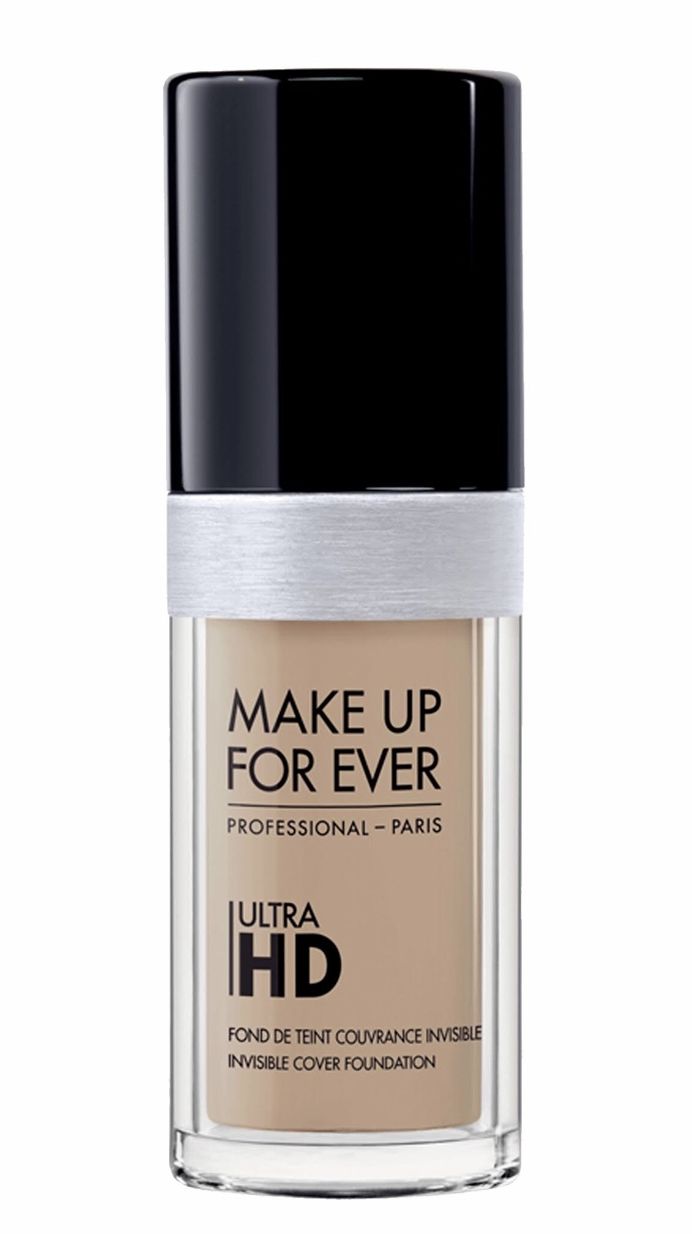
Image: Courtesy Photo
Step Four: Foundation
This step is very important because the entire direction of the no-makeup look is dependent upon your foundation providing the right amount of coverage for your skin. So far your skin is natural, dewy and glowing, but the right foundation and applicator is necessary to achieve the no-makeup look. I have tried countless foundations (and will keep trying more!), and my No. 1 favorite so far for a natural finish is Make Up For Ever Ultra HD Invisible Cover Foundation ($43 at Sephora). It’s a medium-coverage foundation, so it provides enough coverage to correct any flaws or discoloration while still looking invisible and seamless. I lightly apply a small amount with a damp BeautyBlender.
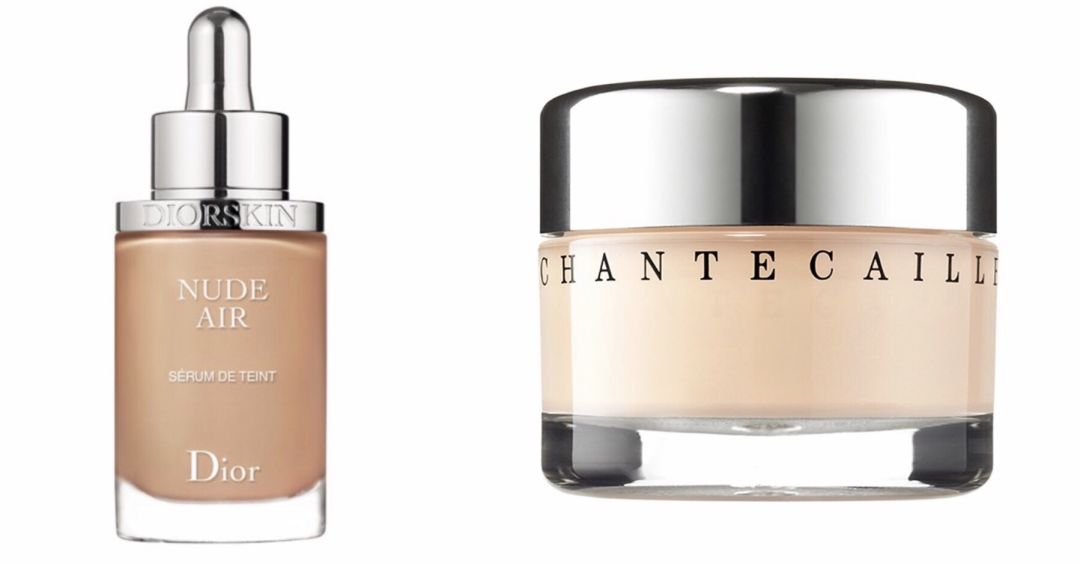
Image: Courtesy Photos
Products I want to try next:
Chantecaille Future Skin Gel Foundation, $78 at Bluemercury
DiorSkin Nude Skin-Glowing Foundation, $53 at Saks Fifth Avenue
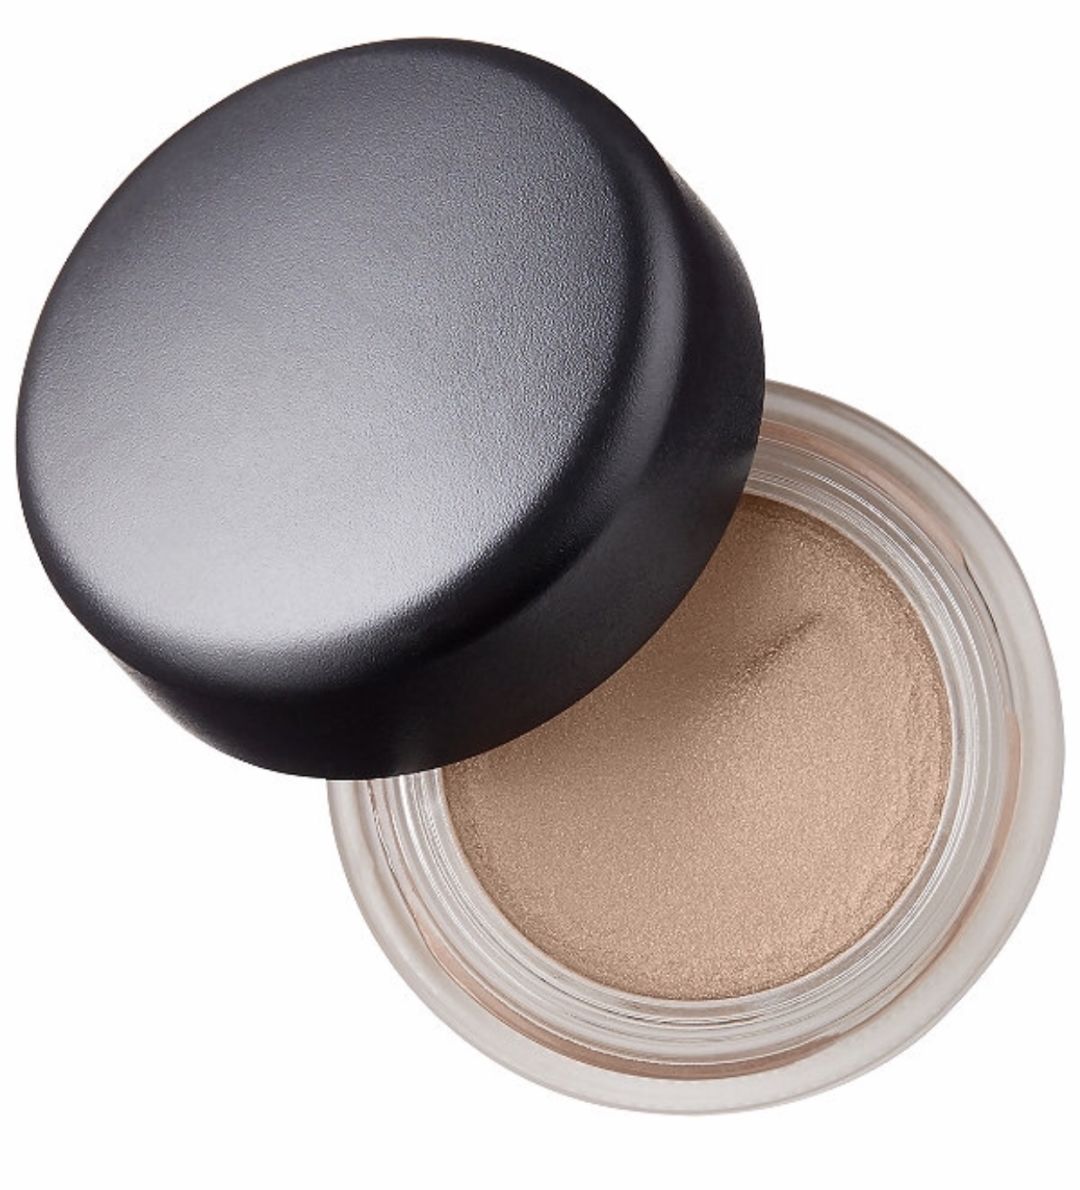
Image: Courtesy Photo
Step Five: Eye Tint
Don’t forget to add a slight hint of color to your eyes. I use MAC Paint Pot in Bare Study ($22 at MAC Cosmetics). Using my ring finger, I lightly press product from the lid to the brow bone, making sure I blend more at the outer corners (just by blotting lighting with my fingers).
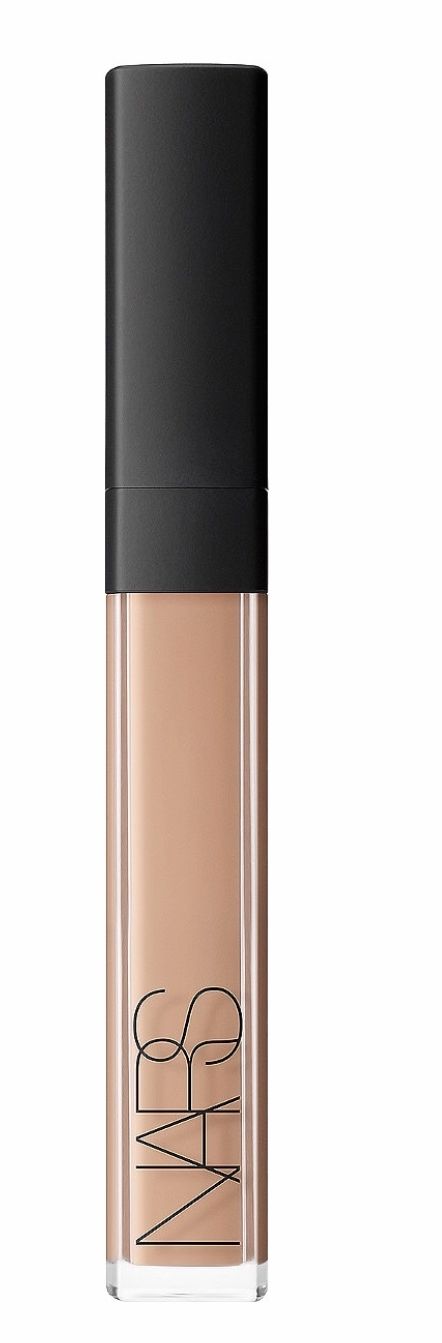
Image: Courtesy Photo
Step Six: Concealer
Even though I’m trying to look like I have minimal-to-no-makeup on, I’ve got some serious dark circles that need tending to. I have a few hero concealers, but for this particular look, I need a lightweight one with decent coverage—and my favorite for that is the Nars Radiant Concealer ($30 at Sephora). I do a quick swipe under each eye and blend in quickly with my ring finger, sometimes blending a little more with the BeautyBlender if I added more product than anticipated.
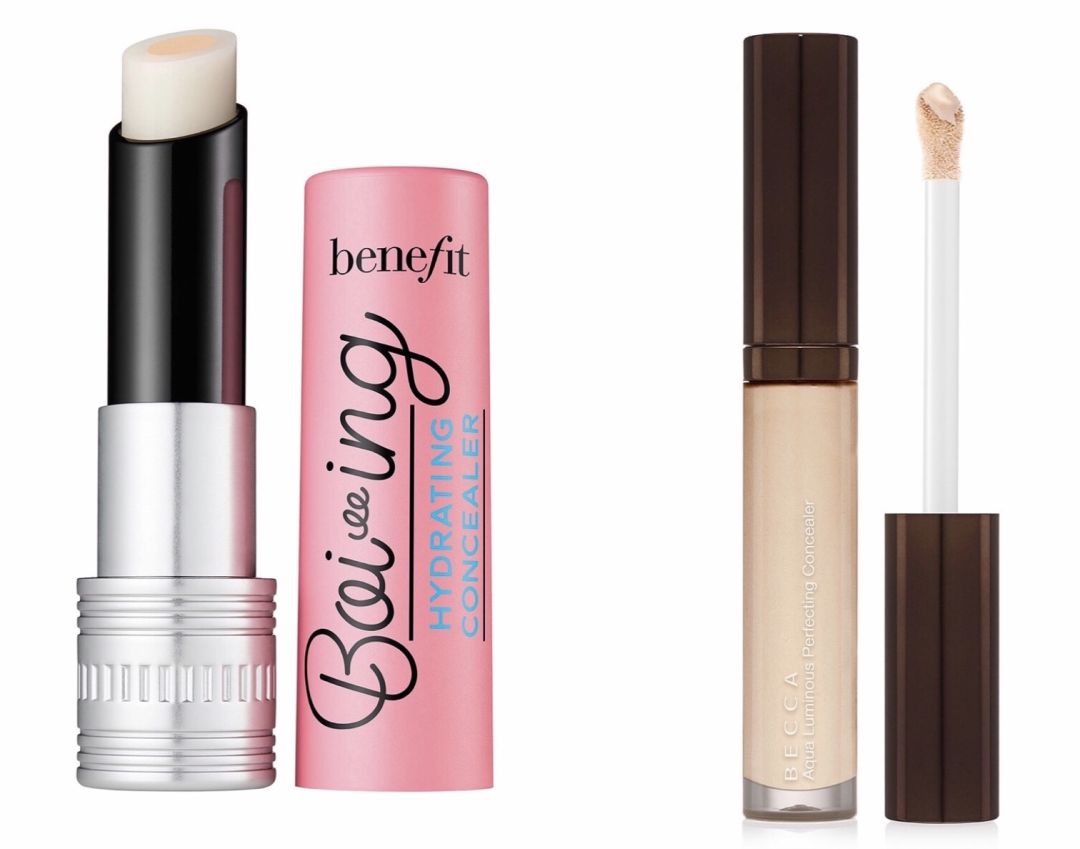
Image: Courtesy Photos
Products I want to try next:
Becca Aqua Luminous Perfecting Concealer, $32 at Ulta
Benefit Cosmetics Boi-ing Hydrating Concealer, $32 at Ulta
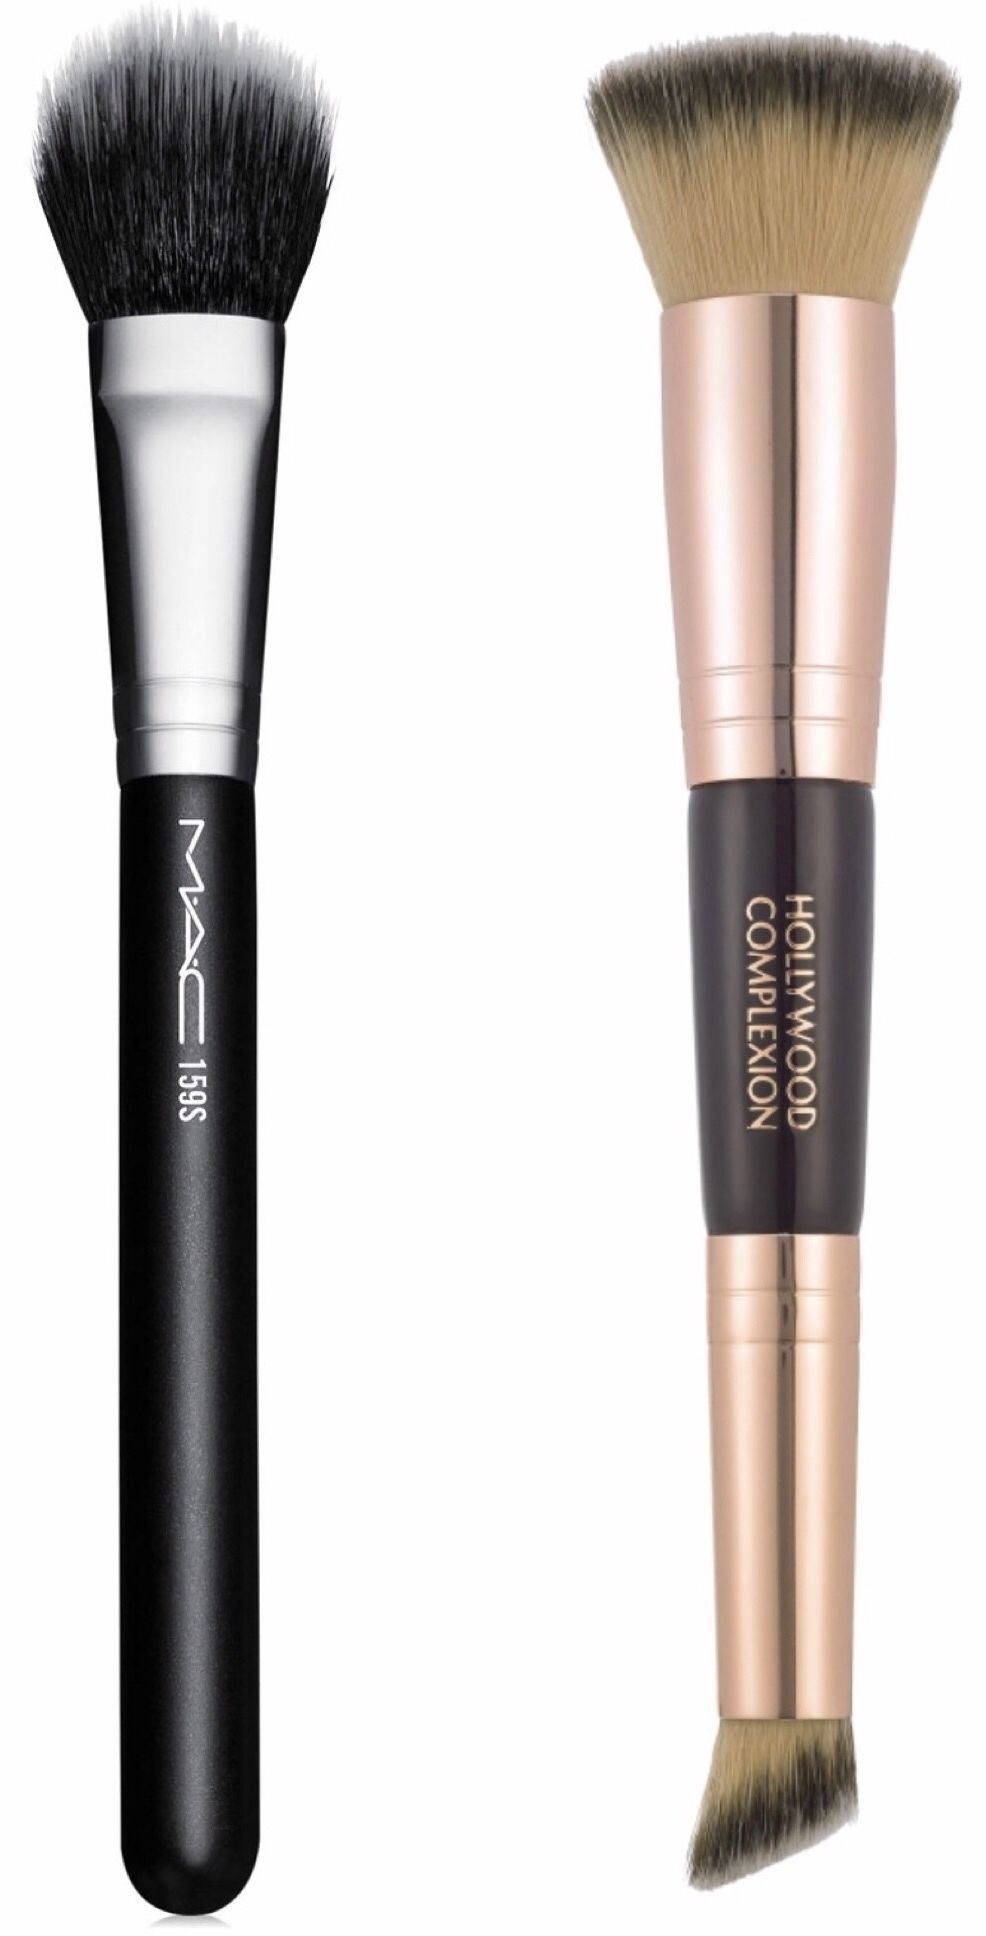
Image: Courtesy Photos
Steps Seven, Eight and Nine: Blush, Contour and Highlight
Creamy versions of blush, contouring and highlighting products are best for creating a more natural look because they are easier to blend. I love stick versions of these products because you can literally just glide color across your face and then blend in with any face brush intended for cream products.
NARS ‘The Multiple’ (in Orgasm, $39 at Sephora) is my favorite blush, and it can be used as a lip tint as well. The Anastasia Beverly Hills Foundation Stick (Fawn, $25 at Ulta) is the best for contouring—the Fawn shade is light enough that when blended well, it looks like you barely contoured at all, yet your face still looks slimmer and your cheekbones more defined. I blend the blush with a MAC 159S Dual Fibre Brush ($28 at MAC Cosmetics), and I use the Charlotte Tilbury Hollywood Complexion Brush ($40 at Bloomingdale’s) to blend in the contour.
For the highlight, I like to apply Milk Makeup Holographic Highlighter Stick ($24 at Sephora) or RMS Beauty Magic Luminizer ($38 at Bluemercury), again blending with the MAC 159S Dual Fibre Brush.
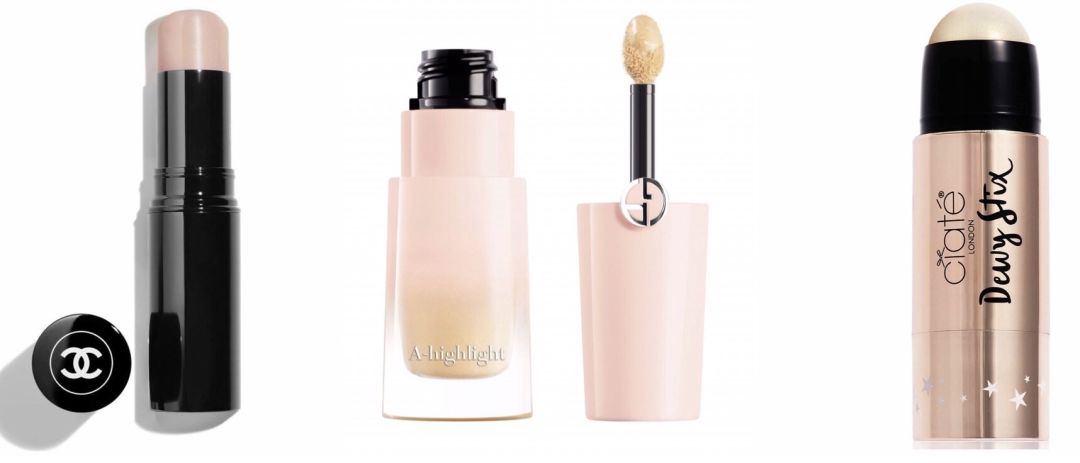
Image: Courtesy Photos
Products I want to try next:
Chanel Multi-Use Glow Stick, $45 at Saks Fifth Avenue
Giorgio Armani A-Line Highlighter, $38 at Saks Fifth Avenue
Ciate London Dewy Stix—Luminous Highlighting Balm, $26 at Sephora
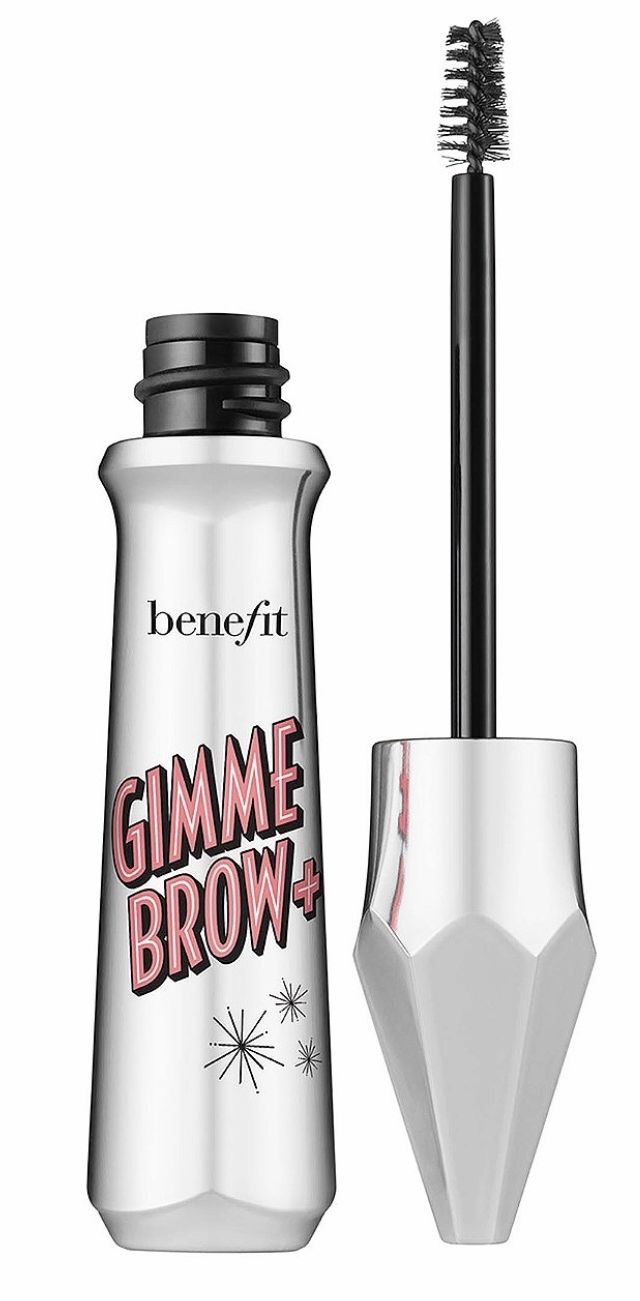
Image: Courtesy Photo
Step 10: Brows
One of the best things about this makeup routine is how fast it is. For me, one of the most time consuming steps in my makeup routine is my eyebrows. It is so hard to get them to match perfectly (I know, I know—eyebrows are sisters, not twins, but c’mon, they need to look somewhat related!) and create that defined shape with my favorite eyebrow pencil. This no makeup doesn’t need that much precision—and anyway, we don’t have time for that. My favorite product for giving my brows enhanced color and definition is Benefit Cosmetics Gimme Brow + Volumizing Brow Gel ($24 at Ulta). The applicator and gel instantly create natural fullness and definition. It’s amazing.
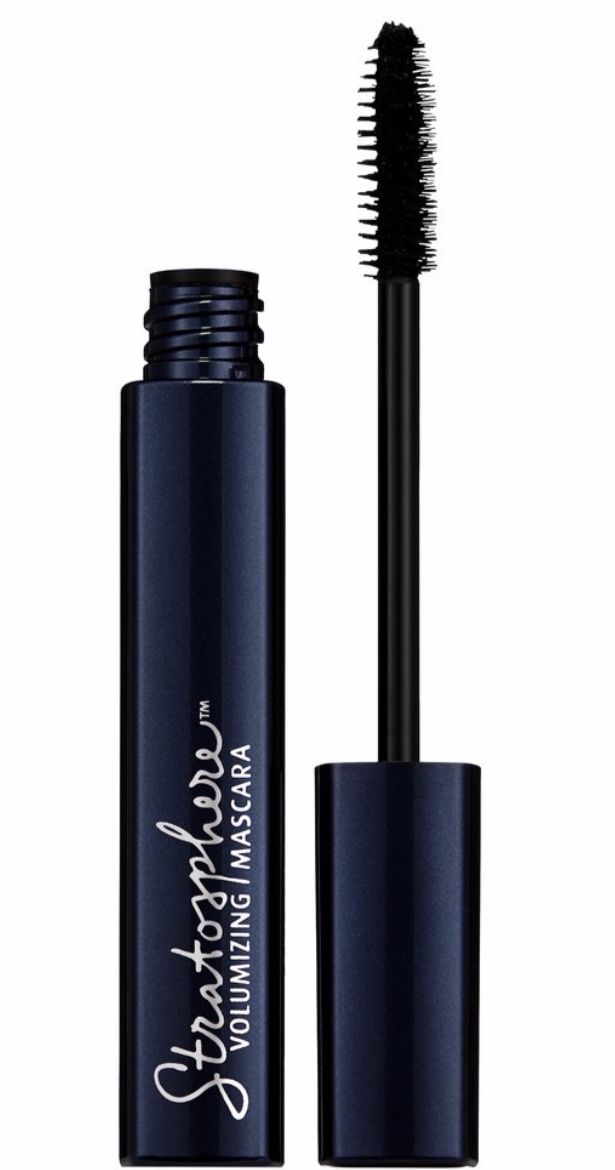
Image: Courtesy Photo
Step 11: Mascara
A light coat of mascara is key when going for a no-makeup look. Some mascaras are super intense from the start, but others have more buildable coverage and those are my favorite for a natural daytime look. I love the Lune + Aster Stratosphere Mascara ($20 at Bluemercury) because it’s lengthening and volumizing, but without the clumpy chaos/my lashes feeling like they weigh 15 lbs. Instead, this mascara makes them feel nourished (I don’t know how, you have to try it yourself!) and natural.
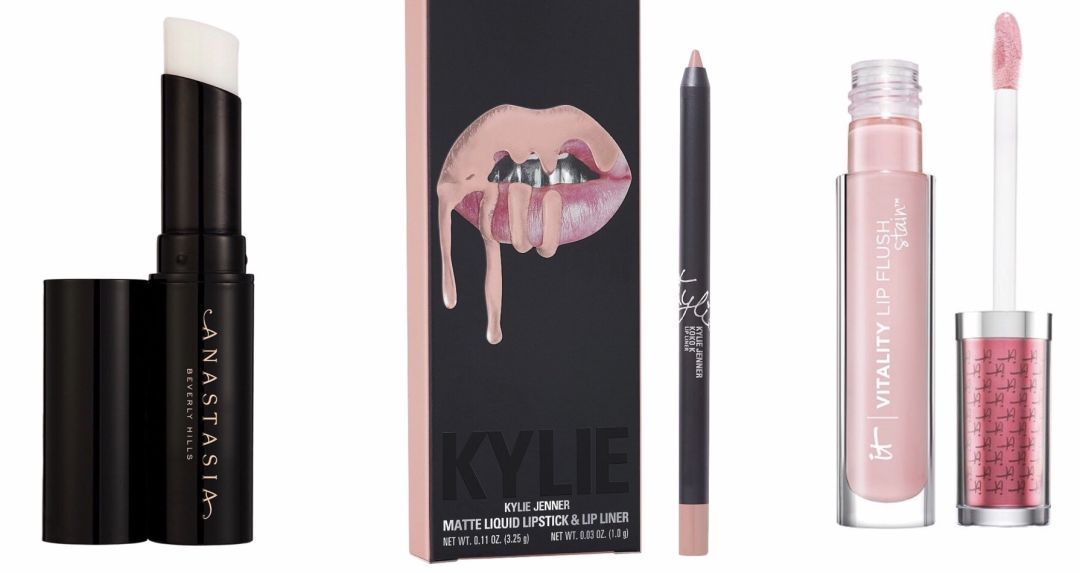
Image: Courtesy Photo
Step 12: Lips
Now to finish off the look: lips! I like start with the Anastasia Beverly Hills Lip Primer ($16 at Sephora), then quickly line my lips with Kylie Cosmetics Koko K Liner ($29 at Ulta). I finish with a quick swipe of it cosmetics Vitality Lip Flush Hydrating Gloss Stain ($24 at Ulta). If you’re looking for a no-color option to finish your no-makeup look, I’d use Biologique Recherche Biokiss ($50 at L. Spa).
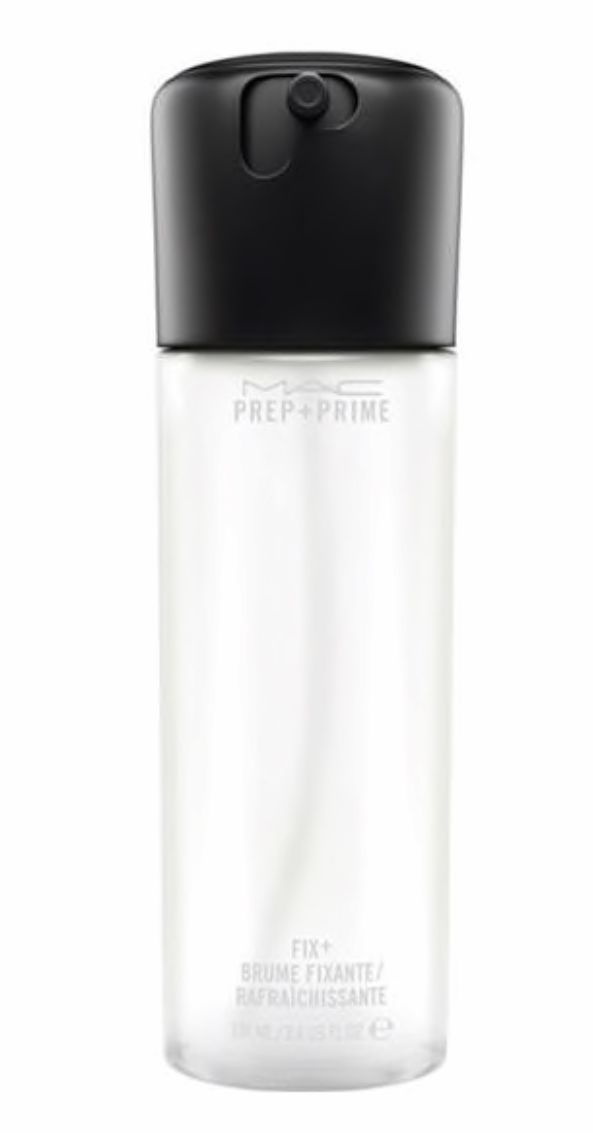
Image: Courtesy Photo
Bonus: Setting Spray
And last but not least, make sure to set your look with a setting spray. My personal favorite is the MAC Prep + Prime Fix+ ($27 at MAC Cosmetics)—a quick boost of hydration, while setting and prolonging your makeup.